
Installing a fiberglass pool is a complex process that requires careful planning and execution to ensure proper placement and longevity. Here is a step-by-step guide to help you understand the installation process:
Step-by-Step Guide to Installing a Fiberglass Pool
1. Planning and Permits
- Design Selection: Choose the size, shape, and design of the fiberglass pool that fits your needs and space.
- Permits: Obtain the necessary permits from your local authorities. Regulations vary by location, so check with your local building department.
2. Site Preparation
- Marking the Site: Outline the area where the pool will be installed using stakes and string or spray paint.
- Excavation: Excavate the area according to the pool’s specifications, ensuring it’s slightly larger than the pool itself. The depth should account for the pool shell and a base layer of sand or gravel.
- Leveling: Ensure the bottom of the excavation is level. This is crucial for the stability of the pool.
3. Base Preparation
- Base Layer: Spread a layer of sand or fine gravel (about 4-6 inches thick) at the bottom of the excavation. This layer helps provide a stable and level base for the pool.
- Leveling the Base: Use a level to ensure the base is even and smooth.
4. Setting the Pool
- Delivery: The fiberglass pool shell will be delivered to your site. Ensure there’s enough space and access for the delivery truck and crane.
- Placement: Using a crane, carefully lift and lower the pool shell into the excavation. Make sure it is aligned properly and sits level on the base layer.
- Leveling Adjustments: Make any necessary adjustments to ensure the pool is perfectly level. This might involve adding or removing some sand or gravel under the pool shell.
5. Plumbing and Backfilling
- Plumbing Installation: Connect the pool’s plumbing, including skimmers, drains, and returns. Ensure all connections are secure and leak-free.
- Backfilling: Begin backfilling around the pool shell with sand or gravel. Do this gradually, filling and compacting the material as you go to provide support and prevent shifting. Simultaneously, fill the pool with water to balance the pressure and avoid damaging the shell.
6. Equipment Setup
- Install Pool Equipment: Set up the pool pump, filter, heater, and any other necessary equipment. Follow the manufacturer’s instructions for proper installation and operation.
- Electrical Work: Have a licensed electrician handle the electrical connections for the pool equipment and any lighting features.
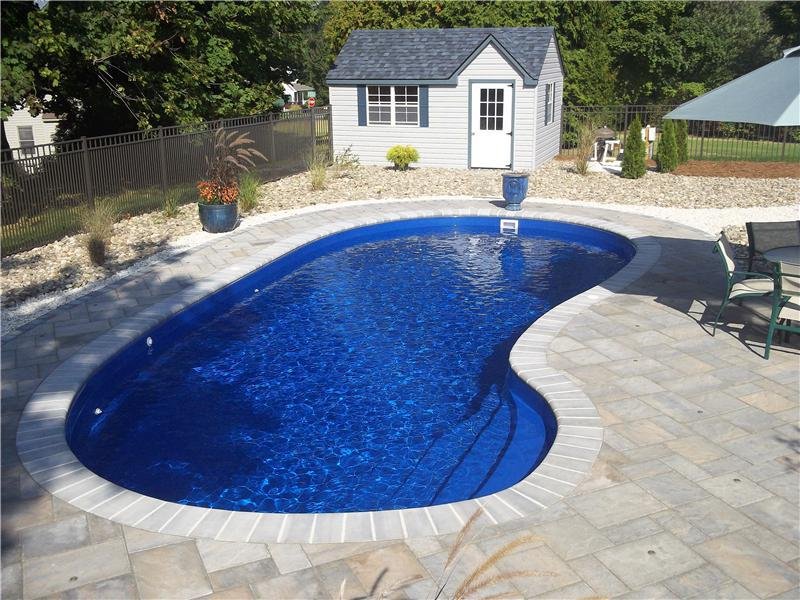
7. Finishing Touches
- Coping and Decking: Install the coping around the edge of the pool, and then proceed with your chosen decking material (concrete, pavers, etc.) around the pool area.
- Landscaping: Complete any desired landscaping around the pool to enhance its aesthetic appeal.
8. Final Inspection and Filling
- Inspection: Schedule a final inspection with local authorities to ensure the pool complies with all safety and building codes.
- Fill the Pool: Complete the filling of the pool and balance the water chemistry.
Tips for Success
- Hire Professionals: Consider hiring experienced professionals for the excavation, plumbing, and electrical work to ensure everything is done correctly and safely.
- Regular Monitoring: During the backfilling process, continuously monitor the pool’s level and the fill rate to prevent any issues.
- Maintenance Plan: Develop a regular maintenance plan to keep your pool in excellent condition.
By following these steps and ensuring careful attention to detail, you can successfully install a fiberglass pool that will provide years of enjoyment.
4o